This article will walk you through adding custom triggers through GTM
Before going through this article make sure you have the Popsixle base code installed and it loads on all pages. If not please review the base code guide.
Table of Contents
- Determining what events you would like to track
- Configure GTM tags
- Event triggers
- Publish and test your triggers
Determine what events you would like to track
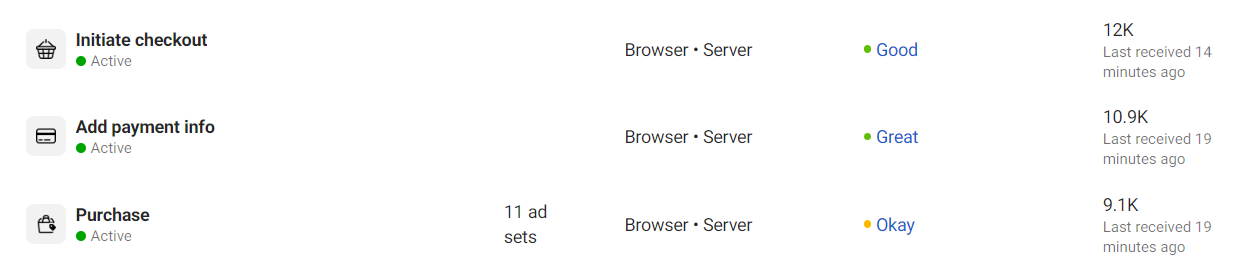
Look at your Events Manager in your Facebook Ad account and see what events you’re already tracking and using within campaigns. In the below example, Purchase is being used in 11 ad sets.
For every configured event, you need to create a new GTM Tag. Within the tag, you’ll create a custom HTML code snippet, and configure the trigger for the event.
We recommend starting with a spreadsheet that logs the event type, event value, and trigger to document your planning. Feel free to make a copy of our tagging template here
|
Event Type |
Facebook API Event Type |
Event Value |
Trigger |
GTM trigger |
|
Purchase |
Purchase |
{dynamic} |
Land on thank you page after purchase |
URL = “thank-you” |
|
Add to cart |
AddToCart |
10.00 |
Click “Add to Cart” button |
Button with id “add-cart-h123ss” is clicked |
Configure GTM Tags
Log in to GTM
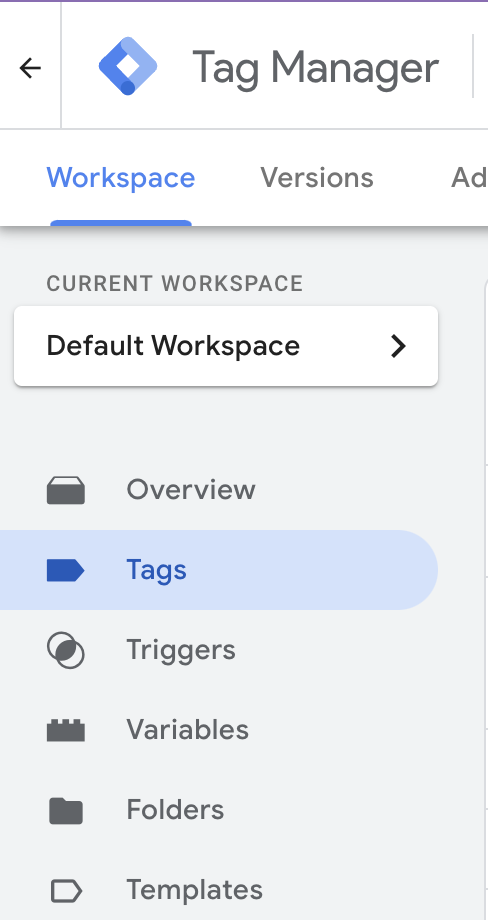
Go to Tags on the left hand nav
Click the “New” button in the top right

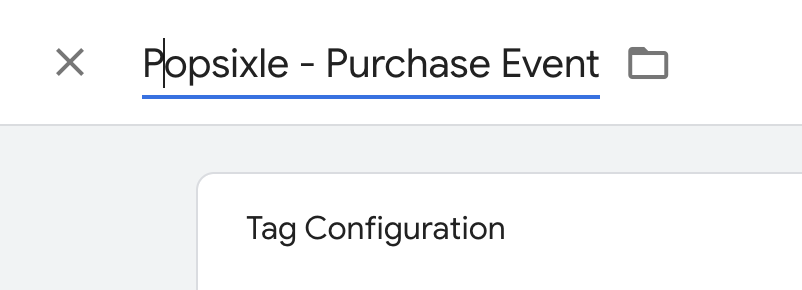
Name your tag with suggested naming convention (“popsixle - event type”)
Example:
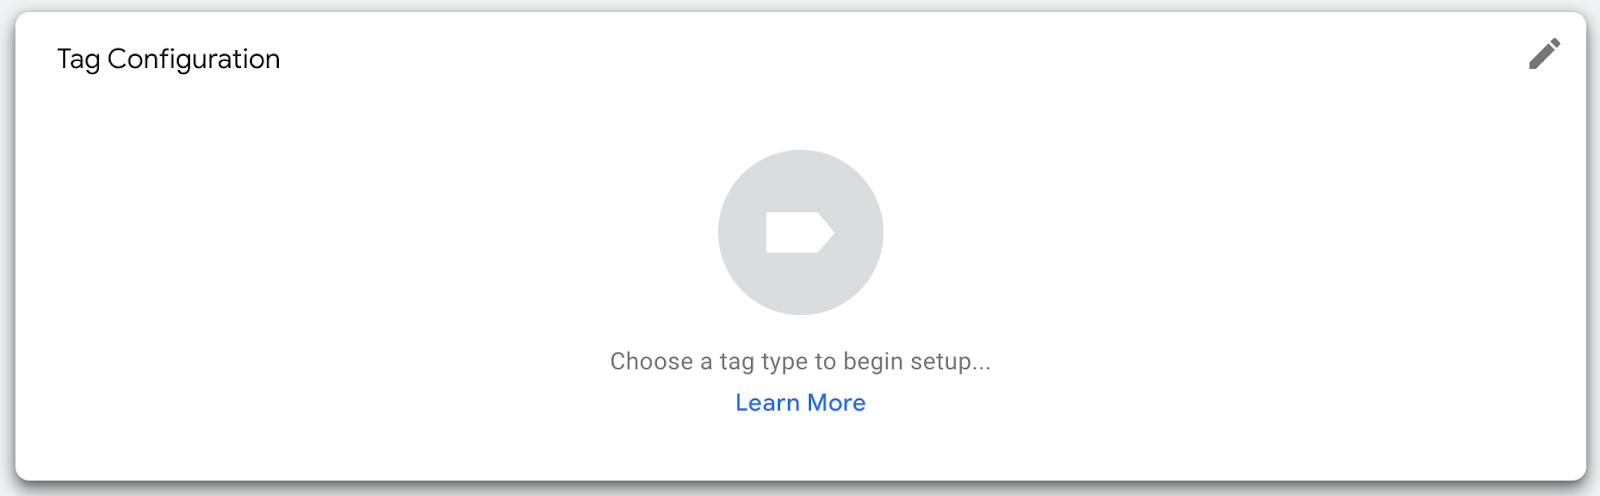
Within the Tag Configuration section, click the edit pencil icon in the top right corner
Search for and choose “Custom HTML” as the tag type:

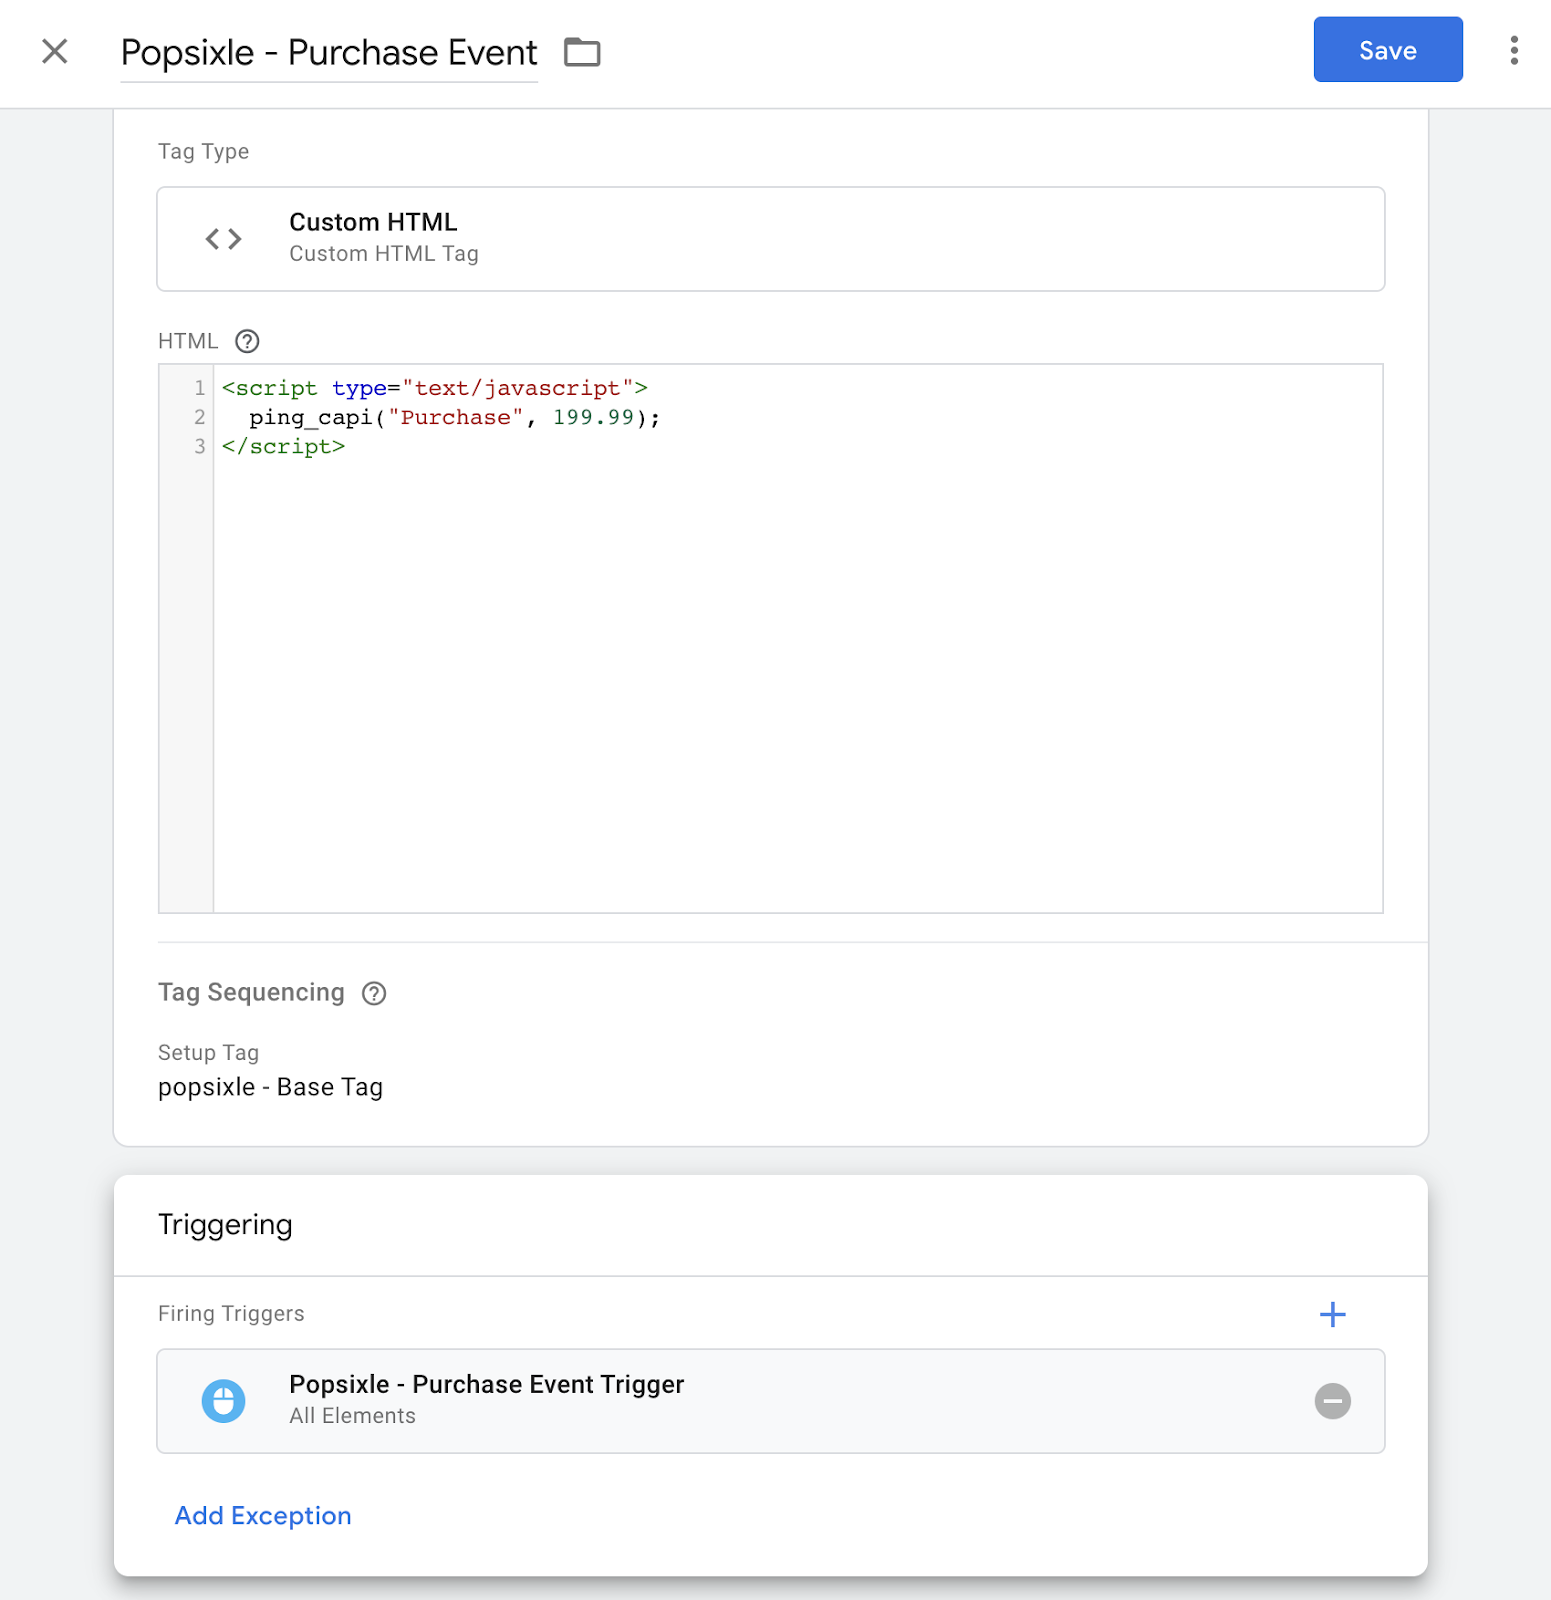
Paste in the below sample code within the HTML section, and then update the two parameters within the ping_capi() function.
Do this step for each of the tag(s)/event(s) you are configuring.

Verbatim code: (bold area is what needs to be updated/configured)
<script type="text/javascript">

  ping_capi("Purchase", 99.99);

</script>
The ping_capi() function expects two separate values to be passed, separated by a comma. The first value is the Facebook event type. It must be wrapped in quotation marks and must use one of the following exact spellings:
- PageView
- ViewContent
- AddToCart
- InitiateCheckout
- Purchase
- Lead
- Subscribe
- Search
- CompleteRegistration
The second value after the comma should be a dollar amount associated with the event. You can either hard-code the same value for all events or use a dynamic value from stored variables within your GTM account.
Note that the event values should be numbers only, with two decimal places.
Some examples:
AddToCart event with a fixed value of $0.00.
ping_capi("AddToCart", 0.00);
AddToCart event with a fixed value of $5.00.
ping_capi("AddToCart", 5.00);
Purchase event with a fixed value of $125.00.
ping_capi("Purchase", 125.00);
Purchase event with a dynamic value, pulled from a GTM variable called purchase-amount.
ping_capi("Purchase", {{purchase-amount}});
For dynamic values, wrap the dynamic variable name with double curly brackets: 0
Note that as soon as you type the opening {{ for a dynamic value, GTM will show a drop down with the available, existing dynamic values within your account.

If later on you are debugging the event and it’s not firing correctly, check advanced settings at the bottom of the Tag Configuration/custom html area. Use Tag Sequencing to ensure your Popsixle base-tag fires before your custom event.
Example:


Event Triggers
Congratulations! You’ve completed the Tag Configuration portion, now go into the Triggering portion of the GTM Tag you’re creating. Click the edit pencil icon in the top right corner.

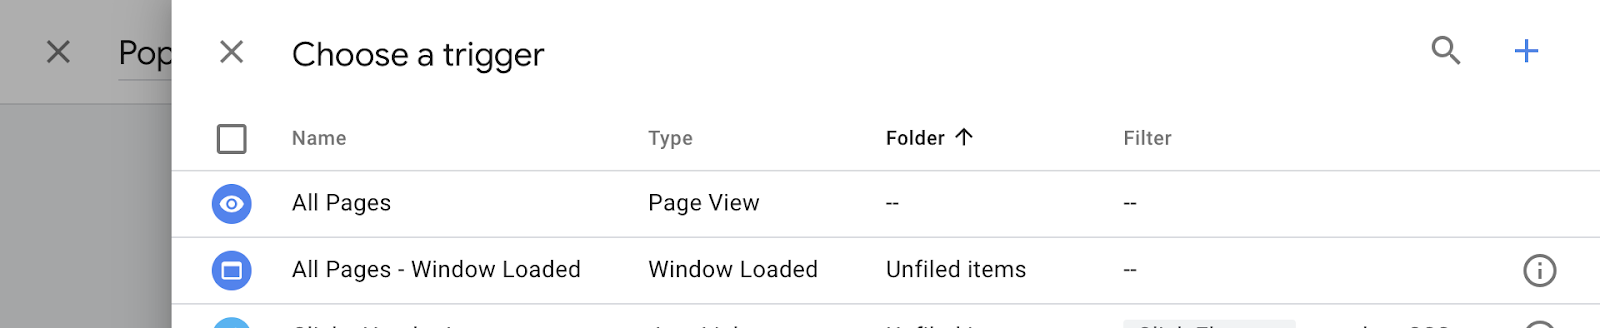
GTM will now list all the existing triggers that have already been configured in your account. To use an existing trigger, simply select it from the list.
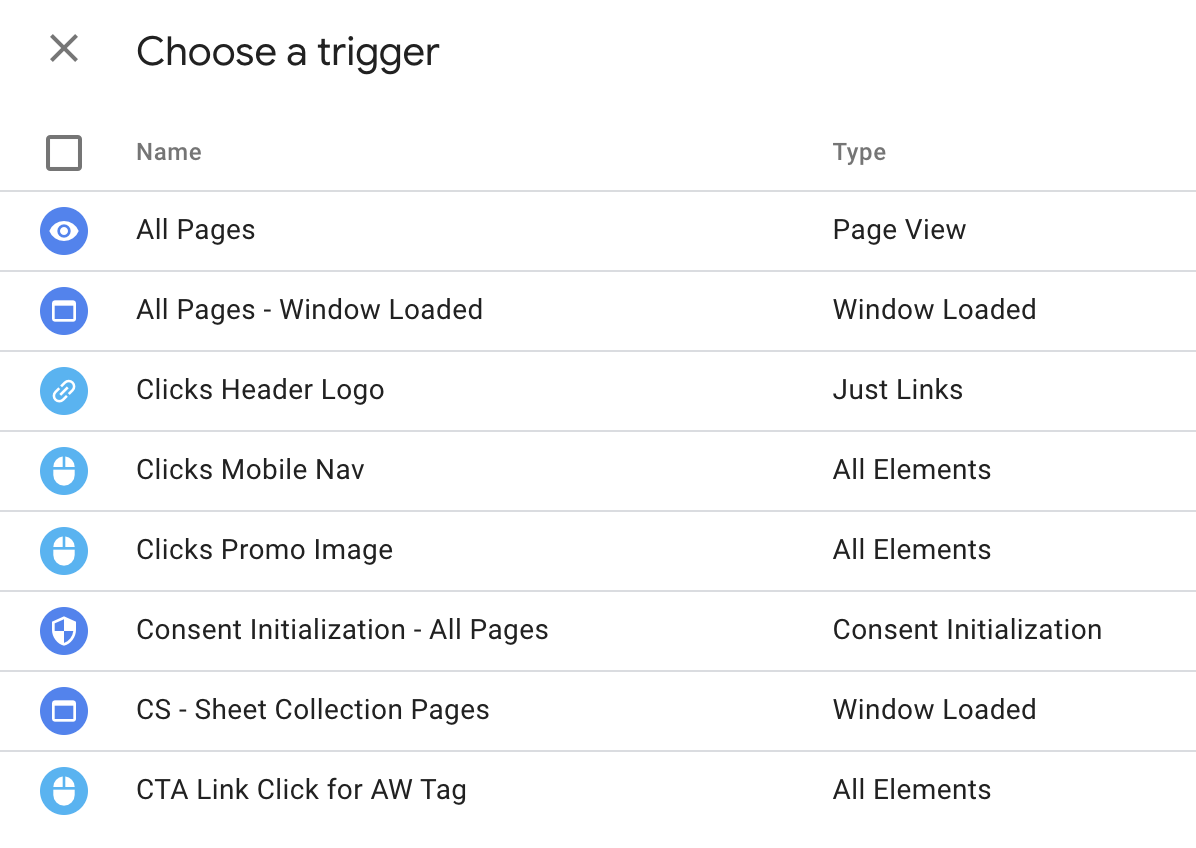
To create a new trigger, click the + icon in the top right corner.
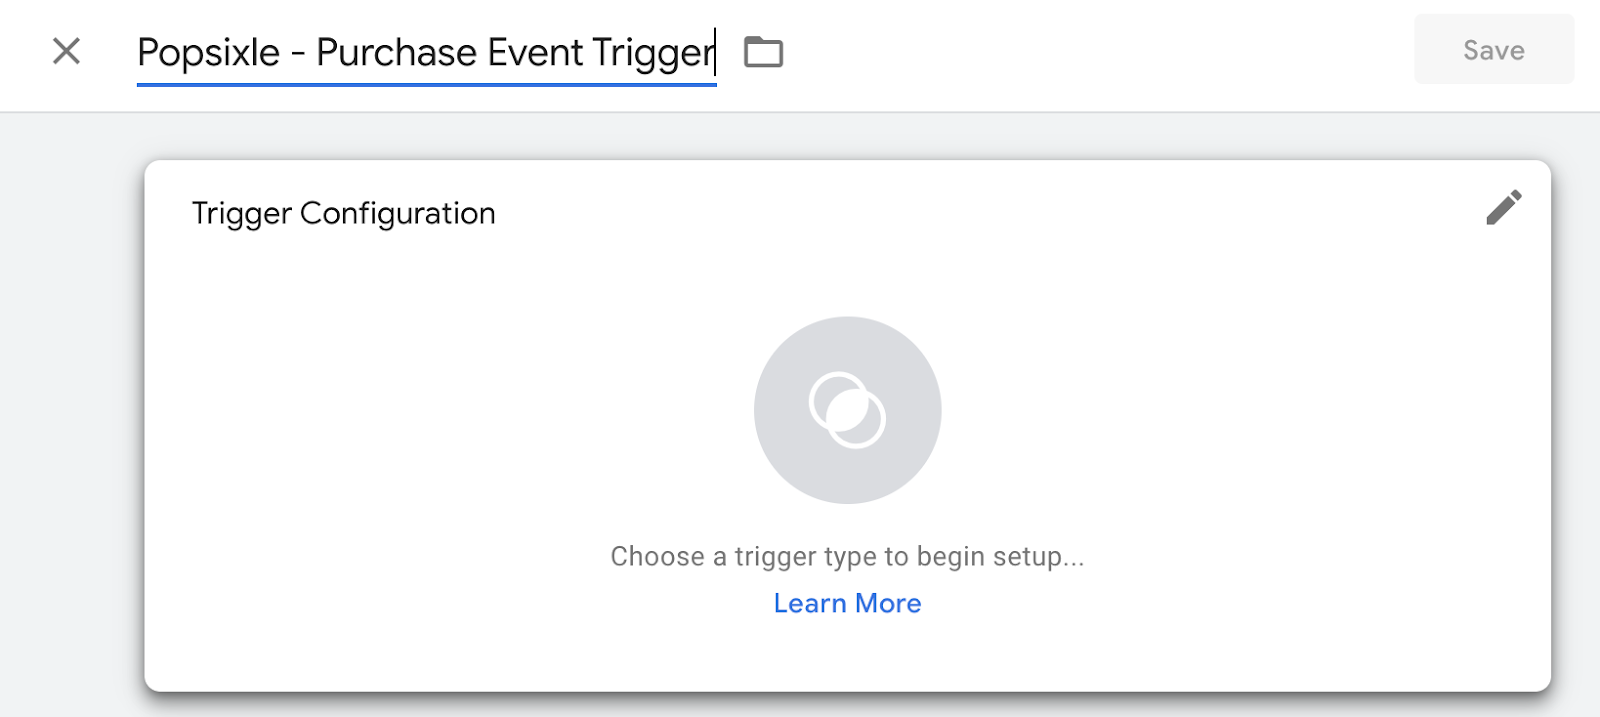
Like any other trigger in GTM, you’ll need to give the trigger a name, and then configure what actions make the trigger fire.
After entering a trigger name, click the edit pencil icon to configure the trigger.
You can reference other GTM tutorials for more info on how to create triggers. The most common triggers are either URL matched, button-click matched, or a combination of the two.
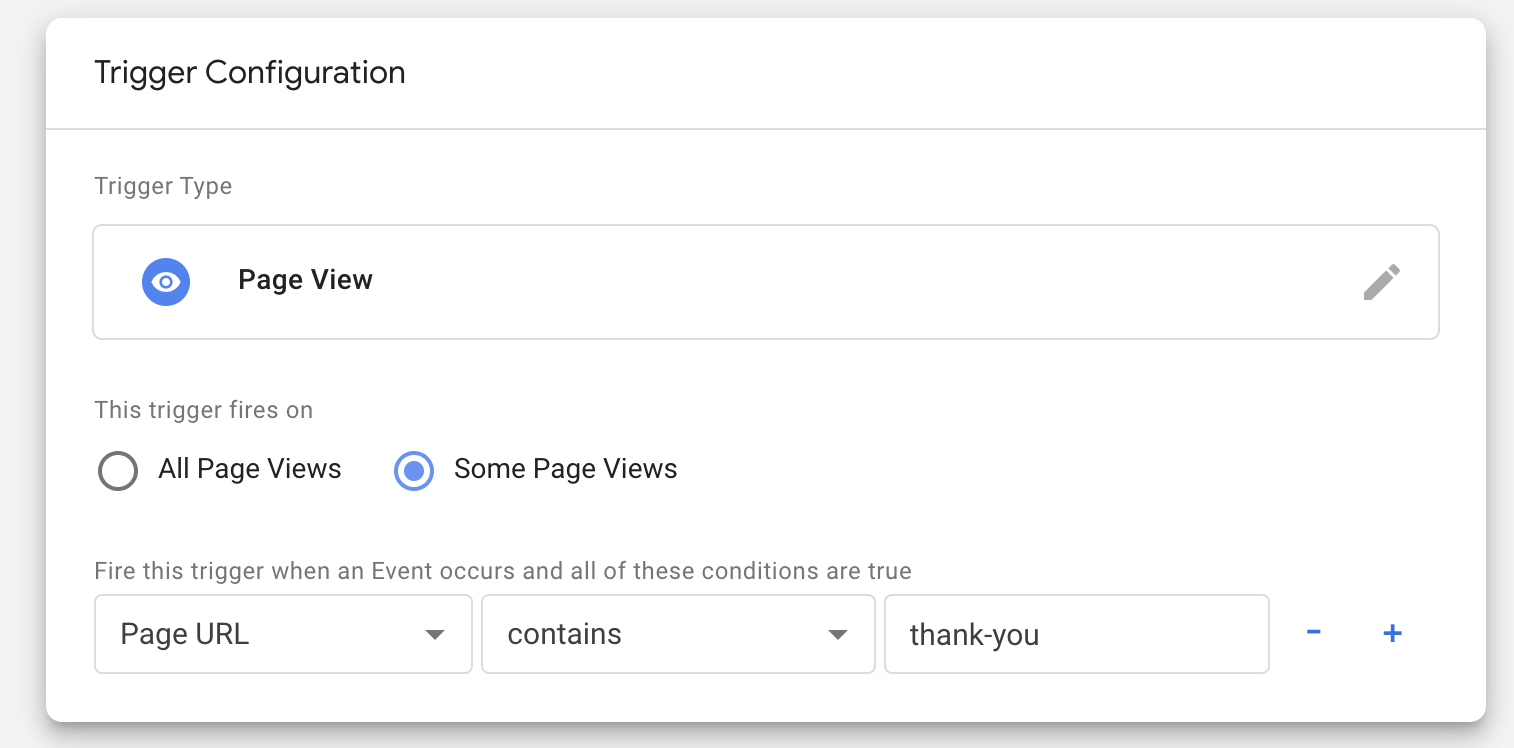
For URL matches, select the Page View trigger type:

Then use the settings to configure what URL text needs to be matched for the trigger to fire. Here’s an example for a trigger that fires on any webpage with the URL containing “thank-you”.
This would fire on all of the below pages, as an example:
- sitename.com/thank-you-page.html
- sitename.com/new-thank-you-2.html
Click Save to save the trigger.
For button-click matches, select the Click - All Elements trigger type:

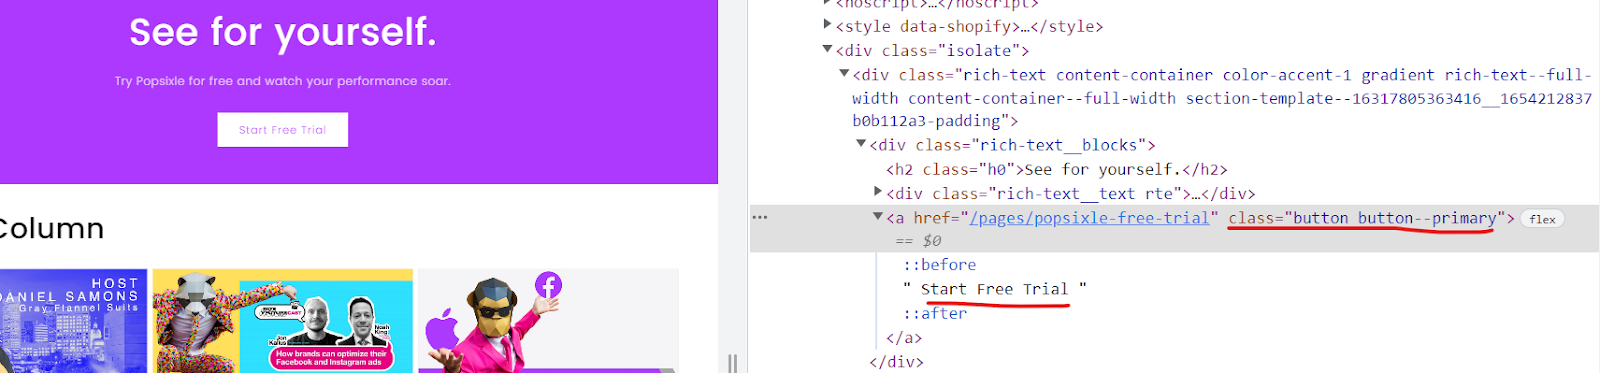
To specify when the Click trigger fires, you need to uncover some unique parameter for that button versus all other buttons on your website. You can inspect the button HTML by right clicking on the button in the Chrome browser and selecting “inspect” from the drop down. This will show the class, id, name, or text value for the button. Inspect various buttons on your site to identify what makes this button unique.
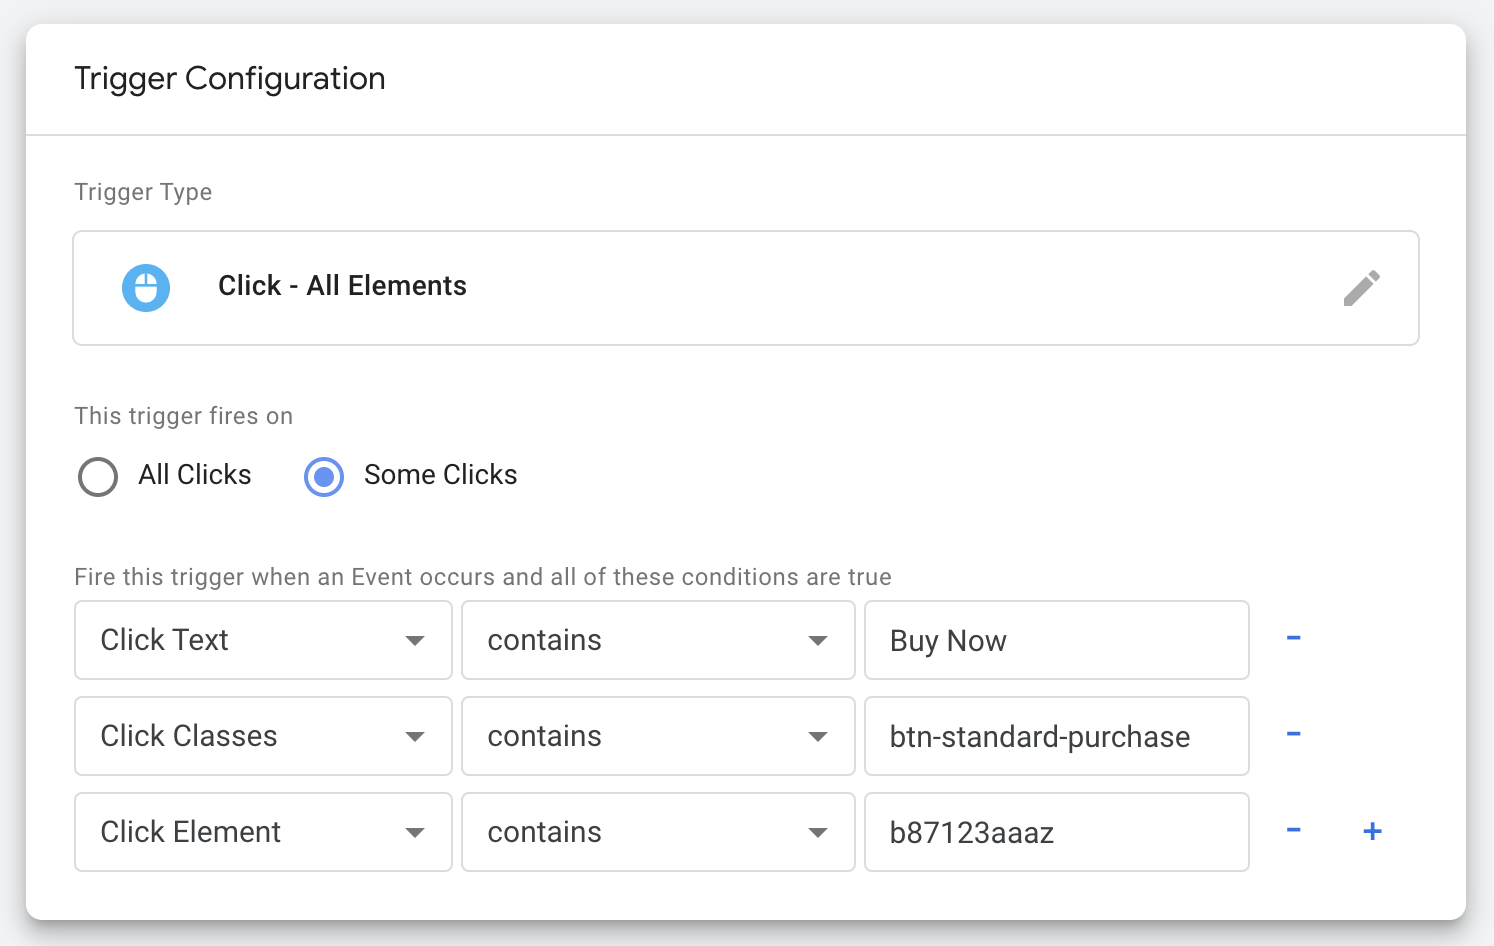
Below are three examples of completed click triggers in GTM. Note, you would only configure your trigger with one of these, not all.
Click Save to save your trigger.
Congrats! If you have configured both the Custom HTML and the Trigger, you can now save your new Tag.
Repeat this process for each event you want to Tag in GTM.
Publish & Test
Note: If you are concerned about publishing this code with potential errors, please contact someone in your organization who is responsible for your website, for support.
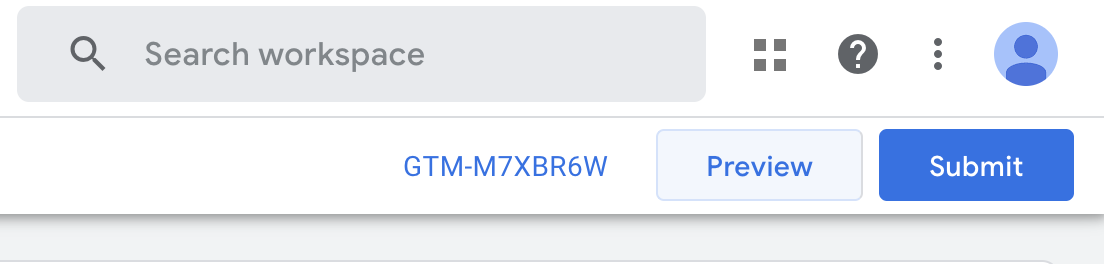
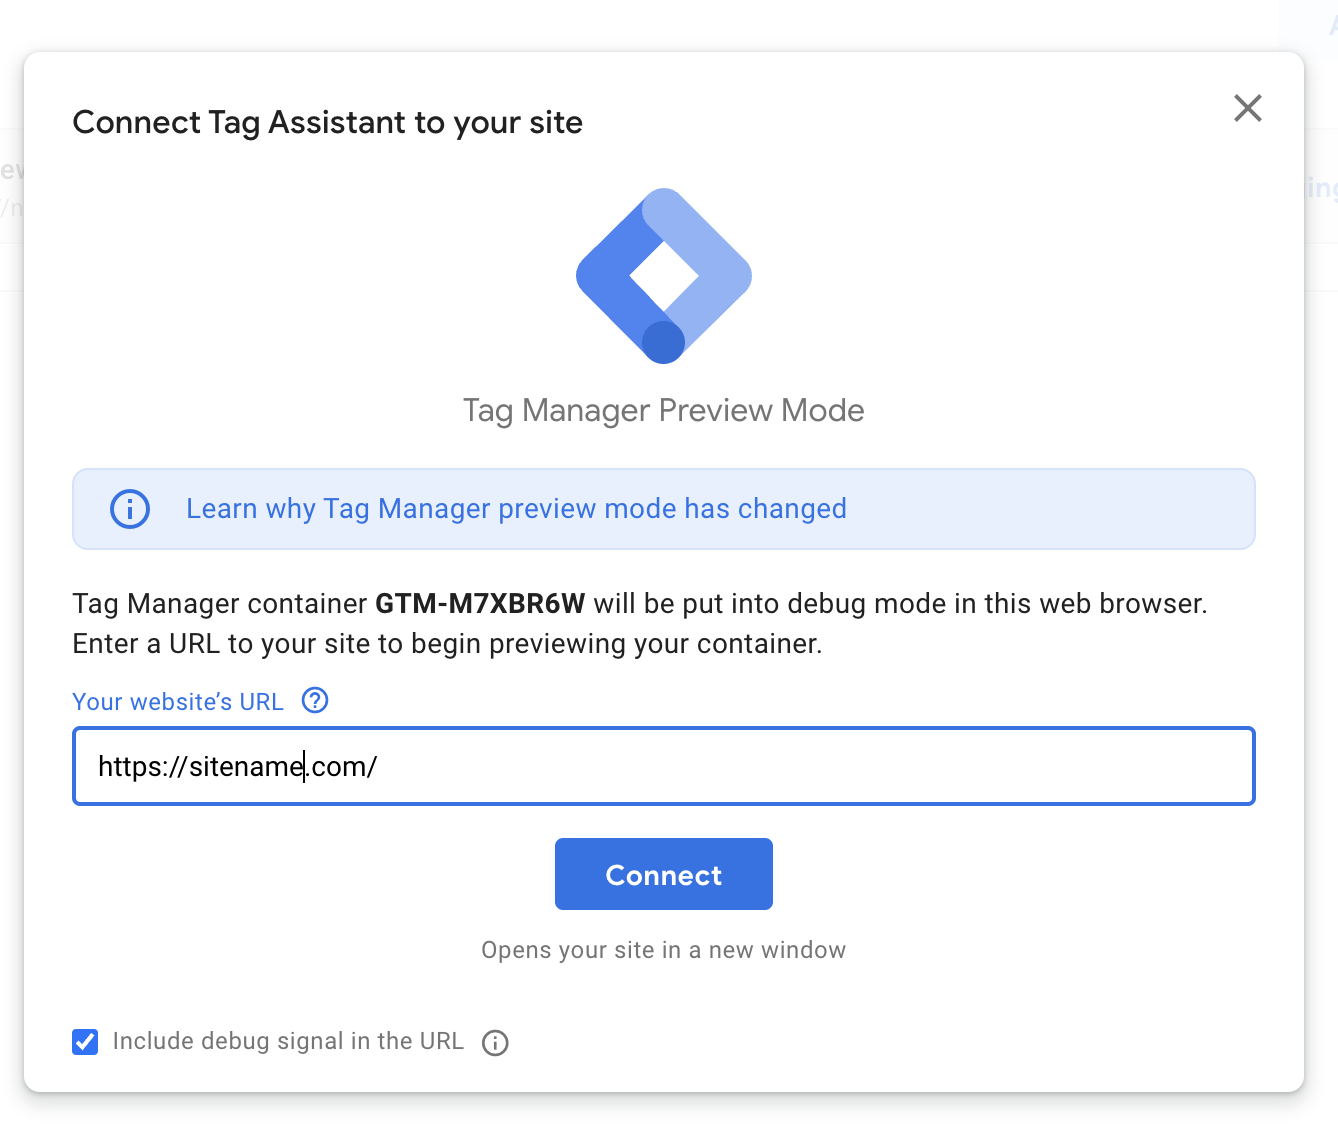
A best practice with GTM is to first click the Preview button before Publishing:
When in Preview mode, you simply enter your website address and GTM will load the site with the Previewed settings without publishing to your live site.
Use this Preview Mode to go through the site experience and verify that the triggers are firing as expected. For example, make a test purchase, and watch for the Purchase event you made to show up in the GTM preview overlay labeled Tag Assistant.

You may also monitor your Facebook events manager to see that the corresponding events are being received by Facebook. There can be a delay of several minutes before the events show up.
To monitor in Events Manager, select the event, click the View Details button.

Once in the View Details section, click Recent Activities to see individual events that have been recently received.

Reach out with any questions to success@popsixle.com